How to Use Gasket Makers & Sealants (Step-by-Step Guide + YouTube Video)
how to use gasket makers like a pro
How to Use Gasket Makers
“Stop leaks before they even start — learn the magic of gasket makers and why every DIY mechanic swears by them.”
✓ Effortlessly Spectacular Seals
✓ An Extensive Range of Gasket Makers
✓ Boosts Efficiency

Here’s a fun fact that might make your wallet twitch — according to AutoCare Association research, the average driver spends over $400 a year fixing fluid leaks and gasket failures.
That’s right — a few drops of oil on your driveway can snowball into a mini financial crisis.
And here’s the thing — half of those leaks could have been avoided with something that costs less than a burger combo meal: a gasket maker.
But if you’ve ever stared at a tube of “RTV Silicone Gasket Maker” and thought “Wait, what on earth do I do with this goo?” — relax.
You’re not alone.
Today, I’ll walk you through everything you actually need to know about gasket makers and sealants — what they are, how they work, how to use them (step by step), and how they’ve saved real people from big repair bills.
What Exactly Is a Gasket Maker?
Imagine you’re making a sandwich, but your bread slices aren’t the same size. There’s a gap. The peanut butter oozes out.
Disaster!!!
Now imagine the sandwich is your engine, and that peanut butter is oil.
You see the problem.
A gasket maker is a gooey, magic-in-a-tube compound designed to fill those uneven gaps between metal surfaces — creating a tight, flexible seal that keeps fluids (oil, coolant, transmission fluid) from leaking out and dirt or air from sneaking in.
Think of it as the custom-fit tailor of your engine world — where traditional pre-cut gaskets are like “one-size-fits-none” T-shirts.
But don’t get it twisted — gasket makers don’t replace every gasket in your engine. You wouldn’t use it instead of a cylinder head gasket (unless you’re in a movie called “Fast & Foolish”).
They shine in areas where surfaces are irregular, or when that one replacement gasket is out of stock, discontinued, or costs more than your car’s resale value🤣🤣🤣🤣 .
Types of Gasket Makers (and Which One You’ll Regret Buying)
Here’s where things get interesting — or confusing, depending on how much coffee you’ve had.
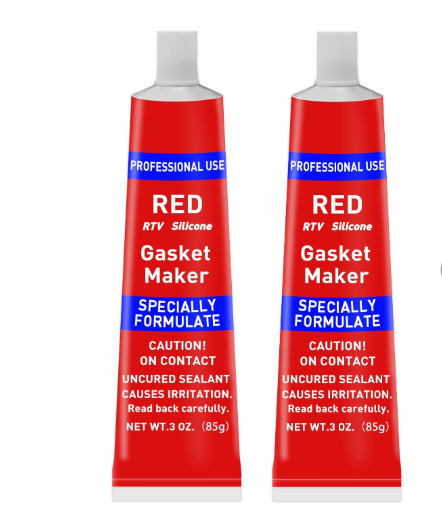
1. Silicone Gasket Makers (RTV)
These are the celebrities of the gasket world — heat-resistant, waterproof, and flexible enough to handle your engine’s daily mood swings.
Perfect for oil pans, valve covers, thermostat housings — anywhere things get hot and greasy.
They usually cure in 24 hours and handle temperatures from about –65°C to 260°C.
💡 Pro tip: “RTV” stands for “Room Temperature Vulcanizing.” Translation: it cures on its own without you baking your engine like a lasagna🤣 .
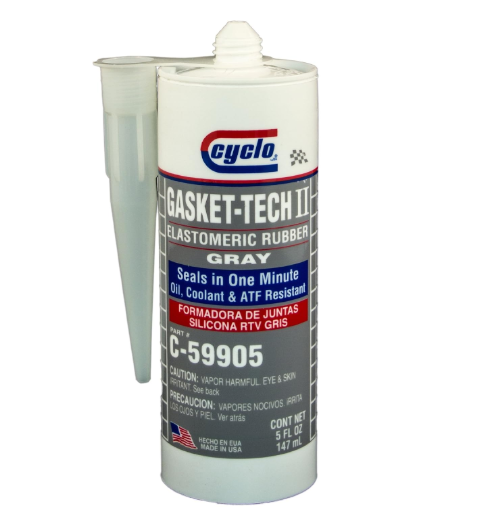
2. Rubber-Based (Elastomeric) Gasket Makers
These are the gym rats — flexible, strong, and tough enough to handle vibration and movement.
Ideal for transmission pans, differential covers, or anything that shakes, rattles, and rolls.
They cure faster than silicone and stay bendy, even after long-term use.
3. Specialty or Sensor-Safe Gasket Makers
These are like those “organic, gluten-free, non-toxic” options your friend brags about — they play nice with everything, especially modern engines full of delicate sensors.
They’re labeled “sensor-safe” because they won’t mess with oxygen sensors or catalytic converters.
Also available: anaerobic gasket makers (which cure in the absence of air) and high-temp versions (for exhaust or turbo systems).
If you’re unsure which type you need, start with a sensor-safe silicone — it’s the Swiss army knife of sealants.
Gasket Maker vs Adhesive: Know the Difference Before It’s Too Late
Picture this: you’ve run out of gasket maker, but you find a tube of super glue on your shelf.
You think, “Same thing, right?”
Wrong!!!!!
Here’s the deal:
- Adhesives are like clingy exes — they bond things permanently and don’t handle heat or movement well.
- Gasket makers are like chill friends — they seal the deal while staying flexible enough to move when things heat up (literally).
If you use glue instead of gasket maker, you’ll likely end up with a worse leak and a stuck engine cover.
So unless you enjoy removing metal parts with a hammer and tears — stick to gasket makers for sealing, not bonding.
How to Use Gasket Makers (The Step-by-Step Way That Actually Works)
Alright, roll up your sleeves. Here’s the fun part — how to actually use this stuff without turning your engine into a silicone art project.
Step 1: Clean the Surfaces Like a Surgeon
No dirt.
No oil.
No old gasket bits.
Grab a gasket scraper or razor blade, clean the mating surfaces with a degreaser or brake cleaner, and dry thoroughly.
Remember: even a tiny speck of oil can ruin a perfect seal.
If it looks like a crime scene, you’re doing it right.
Step 2: Apply the Bead (Steady Hands, Picasso)
Cut the nozzle to the right size (usually 2–4 mm).
Apply a continuous, even bead around the part — no breaks, no clumps, and definitely no “more is better” approach.
Circle the bolt holes too. You’re creating a leak-proof barrier, not decorating a cake.
Step 3: Join the Parts (Before It Dries!)
Press the parts together while it’s still tacky — usually within five minutes.
Hand-tighten bolts evenly, then torque them to manufacturer specs in a crisscross pattern.
You want firm contact, not “Hulk smash” pressure.
Step 4: Let It Cure (Patience, My Friend)
Walk away. Seriously.
Most gasket makers need at least 1–24 hours to fully cure.
Starting your engine early is like cutting into bread before it’s baked — it’ll collapse, and you’ll be sad later.
Step 5: Final Checks (The Leak Lie Detector)
After the cure time, start your engine, let it idle, and check for leaks.
If you see nothing dripping, congrats — you just pulled off a pro-level repair.
If it leaks… go back to Step 1 and pretend this never happened.
Here’s a great video showing gasket maker being applied and explained — very useful for seeing how professionals do it:
This video by ChrisFix covers application on parts like oil pans, valve covers, water pumps, etc.
3 Real-Life Case Studies (With Lessons You’ll Actually Remember)
🧰 Case 1: The Leaky Valve Cover That Smelled Like Regret
Car: 2010 Nissan Altima
Symptom: Oil smell, tiny smoke puff from under hood.
Diagnosis: Old rubber gasket shrunk over time — oil seeping out.
Solution: The owner-Mr. Allan- used a high-temp black RTV gasket maker.
- Removed the valve cover.
- Cleaned both surfaces until shiny.
- Applied a thin, even bead (3 mm).
- Waited 24 hours before starting.
- No leaks — just sweet, clean engine smell.
Lesson: You don’t need a mechanic for everything. You just need patience and the right product.
🚗 Case 2: The Thermostat Leak That Spoiled Every Morning
Car: 2008 Toyota Camry
Problem: Coolant puddle under car every day — like a sad morning ritual.
Fix: Owner-Christopher Kim- used a sensor-safe blue RTV gasket maker.
Steps:
- Drained coolant, removed thermostat housing.
- Cleaned both surfaces.
- Applied a continuous 2 mm bead.
- Reassembled and hand-tightened bolts.
- Waited 2 hours, refilled coolant, checked for drips.
Result: No leaks for over a year.
Lesson: Don’t let tiny drips turn into big repair bills — a $6 tube can save you hundreds.
🏎️ Case 3: The Exhaust Manifold Leak From the Depths of Hell
Car: 2013 Subaru WRX (a.k.a. the Hothead)
Problem: Annoying ticking sound, fumes under hood.
Diagnosis: Exhaust manifold gasket failing under high heat.
Fix: Owner – Teacher Grace -used a red high-temp gasket maker (rated 650 °C+).
Steps:
- Cleaned both flange surfaces with a wire brush.
- Applied a thick 4 mm bead of high-temp sealant.
- Let cure overnight.
- Torqued bolts next morning, ran engine.
- No noise, no fumes, full boost restored.
Lesson: Not all gasket makers are equal — choose one rated for your application or you’ll just make fancy red goo sculptures.
People Also Ask (Because You’re Not the Only One Googling This)
1. What is a gasket maker used for?
It’s used to create a seal between metal parts — keeping fluids in, and dirt out. Think of it as a DIY custom gasket you squeeze from a tube.
2. Is gasket maker any good?
If you clean surfaces properly, apply it correctly, and let it cure — it’s fantastic. Skip any of those steps, and it’s useless.
3. What’s the job of a gasket?
It’s the barrier that keeps engine fluids separated — oil from coolant, coolant from air, and your sanity from chaos.
4. What’s the difference between RTV and gasket maker?
RTV is a type of gasket maker (silicone-based) that cures at room temperature. All RTVs are gasket makers, but not all gasket makers are RTV.
Common Mistakes People Make (a.k.a. “Why Is It Still Leaking?”)
Using too much sealant (if it oozes into oil channels, it’s game over).
Not cleaning the surfaces.
Tightening bolts too hard — you just squeezed the sealant out!
Not giving it enough time to cure.
Mixing different types of gasket makers. (Oil + coolant + silicone soup = trouble.)
Technical Highlights (So You Sound Smart When Explaining It)
| Feature | Typical Range / Notes |
|---|---|
| Temperature Resistance | –65 °C to +260 °C (standard RTV), up to +650 °C (high-temp) |
| Cure Time | Skin forms in 10 min; full cure 12–24 hrs |
| Vibration Resistance | Excellent — stays flexible |
| Fluid Resistance | Works against oil, coolant, ATF, power-steering fluid |
| Common Uses | Oil pans, valve covers, thermostat housings, differential covers, water pumps |
Final Thoughts: Small Tube, Big Difference
You know what’s funny?
The tiniest leaks often cause the biggest stress.
But with a single tube of gasket maker — and a bit of patience — you can stop a leak, save hundreds, and earn bragging rights at the garage.
So next time you spot that annoying drip, remember:
🧽 Clean.
💧 Bead.
🔩 Tighten.
⏳ Wait.
🚗 Smile.
And always — respect the cure time. Because in the end, your car doesn’t care how fast you are. It only cares how well you sealed it.
Now grab that tube, channel your inner mechanic, and go make your car leak-proof.
Just… maybe wear gloves this time.