How to Install Vinyl Flooring: A Beginner-Friendly DIY Guide
That old, scratched floor has been quietly ruining the look of your room for years. You keep telling yourself you will replace it someday, but then you imagine the installation costs and decide the floor can survive another year.
Thank you for reading this post, don't forget to subscribe!Good news: learning how to install vinyl flooring can save you money and give your room a fresh, modern look without hiring a professional for every step.
The secret isn’t having magical DIY skills. It’s choosing the right flooring, preparing the surface properly, and taking your time with the cuts. Rush the preparation, and even expensive flooring can look disappointing. Get it right, and your room can look as though a professional handled the job.
Let’s get started!
1. Choose the Right Type of Vinyl Flooring
Before buying anything, understand that not all vinyl flooring is installed the same way.
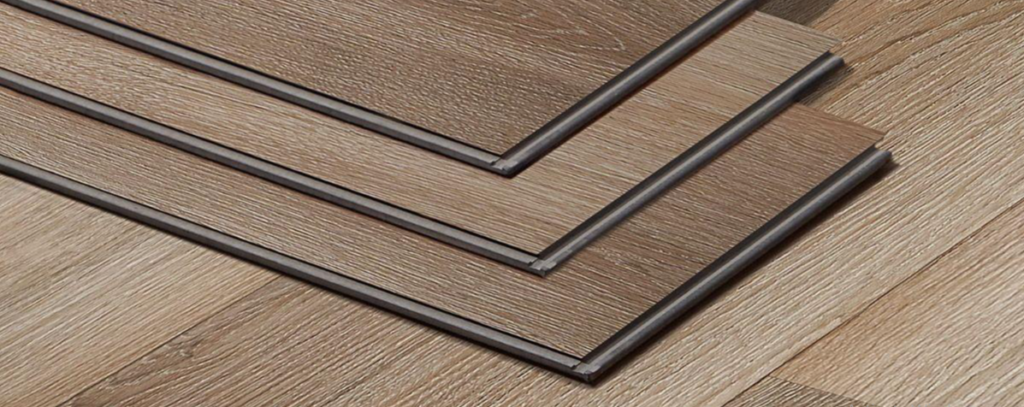
- Click-lock vinyl planks: These planks snap together at their edges. They are a popular choice for DIY beginners because many versions do not require adhesive.
- Glue-down vinyl: These planks or tiles are secured using a compatible flooring adhesive. Subfloor preparation and adhesive application are especially important.
- Sheet vinyl: This comes in large, flexible sheets and can cover a room with relatively few seams. Cutting and fitting it around obstacles can be tricky.
For many first-time DIYers, click-lock luxury vinyl plank (LVP) flooring is a good starting point. It can create the appearance of wood without the maintenance demands of real timber.
However, check the manufacturer’s instructions before purchasing. Some products need a particular underlay, while others have an attached backing and must not be installed over additional padding.
2. Gather Your Tools and Materials
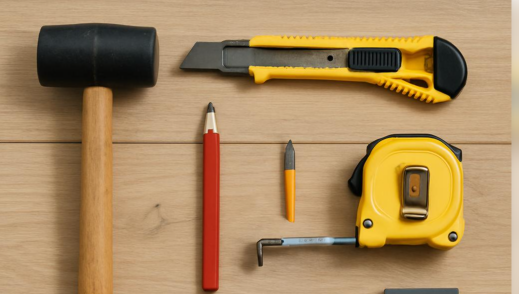
There is nothing more frustrating than getting halfway through a project and discovering that your only measuring tool is a ruler designed for school homework.
Prepare these essentials:
- Tape measure, pencil and carpenter’s square
- Sharp utility knife with spare blades
- Straightedge for accurate cutting
- Manufacturer-approved spacers and tapping block
- Safety glasses and knee pads
- Broom, vacuum and suitable subfloor repair materials
- Vinyl flooring, plus enough extra for cutting waste
Measure the room’s length and width, then multiply them to calculate the floor area. For a simple rectangular room measuring 4 m by 5 m, you need 20 m² of coverage. Buying approximately 10% extra gives you 22 m² to allow for cuts and mistakes.
For complicated layouts, you may need a larger allowance.
3. Prepare the Subfloor Properly
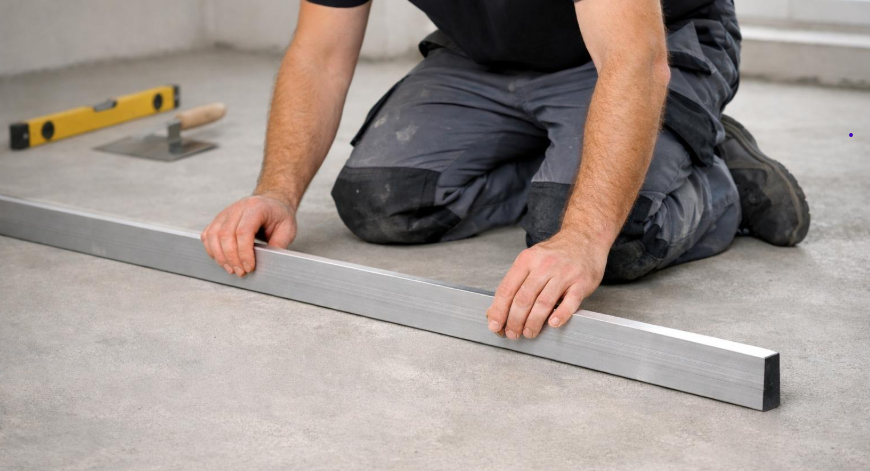
Here is the step many beginners underestimate: the new floor is only as good as the surface beneath it.
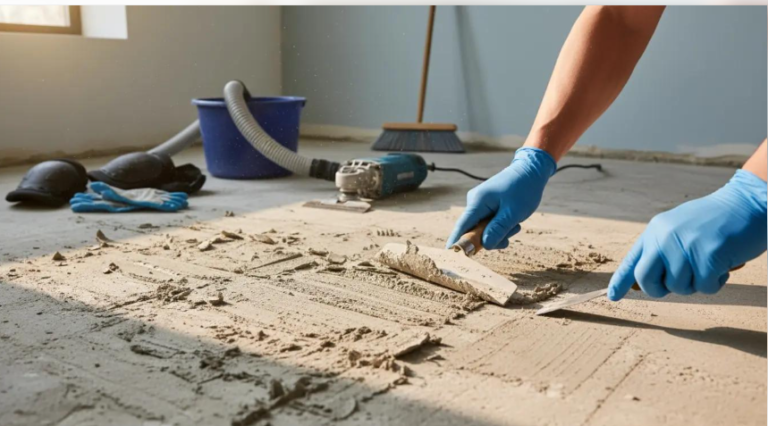
Remove dust, grease, loose material and debris. Check for cracks, raised edges, damaged boards and uneven areas. Repair them using suitable products, and allow repairs to dry fully before installing the flooring.
The surface must meet the flatness, dryness and structural requirements specified by your flooring manufacturer. A floor can look flat to the naked eye but still have dips that cause problems later.
Can you install vinyl flooring over existing tiles? Sometimes, yes. The tiles must be firmly attached, sufficiently flat, and compatible with the chosen flooring system. Deep grout lines may need suitable preparation.
Never cover a damp floor and hope for the best. Moisture trapped underneath can cause serious problems, including mould in susceptible assemblies and flooring damage.
A mistake worth avoiding
Don’t install vinyl planks over carpet, loose tiles or a badly damaged subfloor. New flooring is not a magic carpet that makes every underlying problem disappear.
4. Measure the Room and Plan Your Layout
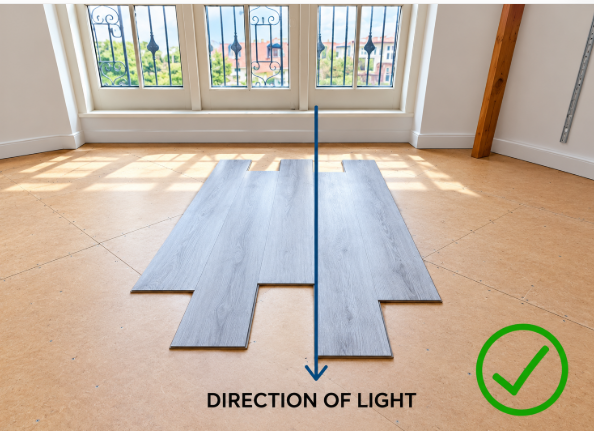
Now it’s time to plan before the planks start multiplying across your room!
Measure the room again and decide which direction you want the planks to run. Running them along the longest dimension often creates a spacious appearance, while the direction of natural light can also influence how the finished floor looks.
Next, plan the first and last rows. If your calculations leave you with a tiny strip along the opposite wall, adjust the starting layout so the cuts are more balanced.
Read the instructions for your specific product to determine the required expansion clearance around walls and fixed objects. Floating vinyl floors need room to expand and contract as temperatures change.
Pro tip: Dry-plan a few rows before locking everything together. Five minutes of planning can save you an hour of correcting mistakes.
5. How to Install Vinyl Plank Flooring Step by Step
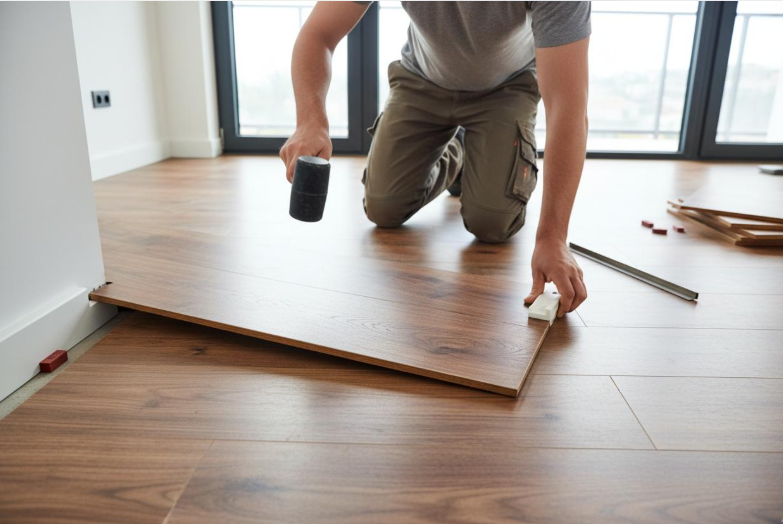
With the surface prepared and your layout planned, you’re ready for the main event.
Step 1: Install the first row. Start from the position specified in your installation instructions. Use spacers to maintain the required clearance from the wall, and check that the row is straight.
Step 2: Connect the planks. Angle or position each plank as directed by the manufacturer’s locking system. Engage the joints carefully rather than forcing them together.
Step 3: Stagger the joints. Avoid lining up end joints in neighbouring rows. Follow the manufacturer’s minimum staggering requirements for a stable, attractive layout.
Step 4: Cut the end planks. Measure the remaining space, mark the plank and cut it using a suitable tool. Check the fit before installing it.
Step 5: Continue across the room. Work row by row, inspecting the joints regularly. If you spot a gap, correct it immediately rather than hoping it will disappear under the furniture.
Step 6: Fit the final row. Measure carefully and trim the planks to width while preserving the required expansion clearance.
Remember that glue-down vinyl uses a different installation process involving compatible adhesive, application methods and working times. Do not follow click-lock instructions for glue-down flooring.
6. Cut Around Corners and Doorways Without the Headache
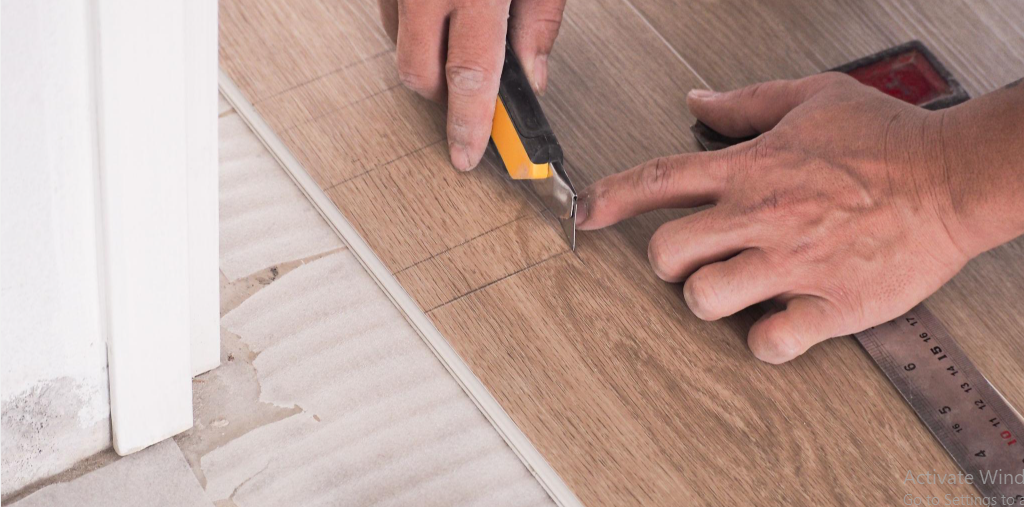
Straight cuts are relatively easy. Door frames, corners and awkward little recesses are where your patience gets tested.
Measure the obstacle carefully, then mark the shape on the plank. For an irregular corner, make a cardboard template first. It’s much cheaper to make a mistake on cardboard than on your last spare plank.
Where appropriate, a door casing can be undercut so the flooring slides neatly beneath it. Ensure the floor still has its required clearance and is not trapped by the casing.
Use a sharp blade and the correct cutting tool for your product. Keep your hands clear of the cutting path and wear eye protection when needed.
7. Avoid These Common Vinyl Flooring Mistakes
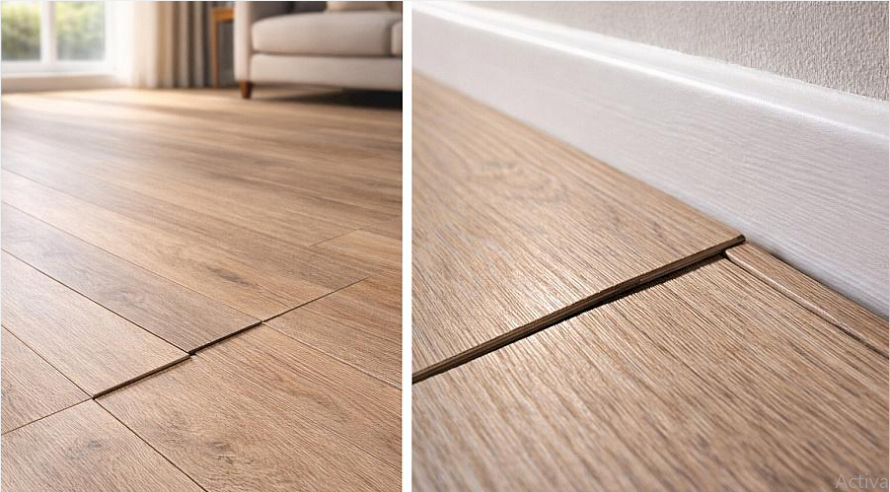
Even a beautiful flooring product can look terrible when installation shortcuts creep in.
Watch out for these common mistakes:
- Skipping subfloor preparation: Bumps and dips can affect the finished floor and its joints.
- Forgetting expansion gaps: Floating flooring needs the clearances specified by its manufacturer.
- Forcing locking joints: Damaged edges may prevent planks from connecting properly.
- Ignoring the first row: A crooked start can leave the entire floor misaligned.
- Using the wrong underlay: Extra cushioning can damage some click-lock systems.
- Installing beneath fixed cabinets without checking: Floating floors generally need to move freely and must not be improperly trapped.
If something doesn’t fit, stop and investigate. A little troubleshooting now beats pulling up half the room later.
8. Finish the Floor and Give It a Final Check

You’re nearly there! Inspect the floor for open joints, damaged edges and loose transitions. Install the appropriate trim and skirting, taking care not to restrict a floating floor’s movement.
Vacuum or sweep away debris and clean the surface with a product approved by the flooring manufacturer. If you’ve used adhesive, follow its specified curing time before allowing normal foot traffic.
Step back and admire your work. That old floor has officially lost its job!
Frequently Asked Questions
How long does vinyl plank flooring installation take?
A straightforward room may take several hours to a full day for a DIY beginner. Repairs, awkward corners, furniture removal and room size can extend the job.
Can I install vinyl flooring over existing tiles?
Often, yes, provided the tiles are secure, the surface meets the product’s flatness requirements, and moisture issues are addressed. Deep grout lines may need filling with a suitable preparation compound.
Can I install vinyl sheet flooring in a kitchen?
Yes, if the chosen product is suitable for the room. Sheet vinyl requires different measuring, cutting and fitting techniques from click-lock planks, so follow its specific installation instructions.
Your New Floor Starts With One Good Step
Learning how to install vinyl flooring doesn’t require you to be a professional carpenter. It requires careful measuring, proper subfloor preparation, the right tools and patience when making cuts.
Start with a manageable room, follow the manufacturer’s instructions, and fix small problems before they become big ones. Your first installation might take longer than expected, but the skills you gain will make future projects easier.
And the best part? Every time someone compliments your new floor, you can smile and say, “Thanks. I installed it myself!”