How to Remove Old Tile Adhesives from Concrete: 7 Methods That Actually Work
Old tiles are gone. You’re ready to give your floor a fresh start. Then you look down and discover the concrete is covered in stubborn lumps, ridges, and patches of tile glue that seem determined to stay there forever.
Thank you for reading this post, don't forget to subscribe!Sound familiar?
Removing old tile adhesive from concrete can be frustrating, especially when scraping one small patch feels like a full-day workout. The good news? You don’t always need expensive equipment, harsh chemicals, or the muscles of a professional demolition crew.
The secret is to identify the adhesive first, choose the right removal method, and work without damaging the concrete underneath.
In this guide, you’ll learn how to remove old tile adhesives from concrete, which tools actually help, when a tile adhesive remover is worth using, and how to prepare your floor for new tiles or another finish.
Let’s get that stubborn glue out of the way.
Why Should You Remove Old Tile Adhesive from Concrete?
You might be tempted to leave the old adhesive alone and install your new flooring over it. After all, if the glue has survived years of foot traffic, surely it can survive a little more?
Not necessarily.
Old adhesive can leave the concrete uneven, interfere with bonding, and create problems when installing certain types of flooring. Raised ridges may prevent new tiles from sitting flat, while incompatible residue can affect the performance of a new adhesive.
Removing the old material also gives you a chance to inspect the concrete for cracks, loose patches, and other damage that might otherwise remain hidden.
However, you don’t always need to remove every discoloured mark. The required surface condition depends on the flooring you’re installing and the manufacturer’s instructions.
The goal isn’t to make the concrete look brand-new at any cost. It’s to create a clean, sound surface that’s suitable for your next flooring project.
Identify the Type of Old Tile Adhesive Before You Start
This is the step many people skip, and it’s often why their removal efforts go nowhere.
Different adhesives behave differently. Using water on a material that barely responds to moisture, for example, can waste hours without solving anything.
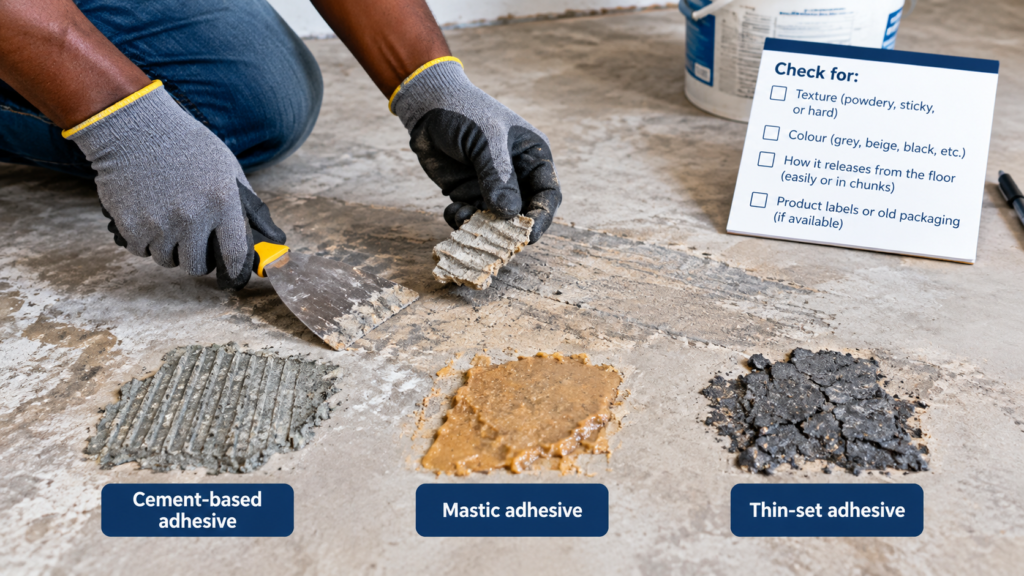
1. Cement-based thinset mortar
Thinset is a cement-based tile adhesive that becomes hard after curing. It often remains on concrete as rough, gritty ridges after tiles are removed.
If the residue feels like stone and refuses to soften, mechanical removal is usually the most practical option. A floor scraper may remove thinner patches, while a suitable powered chisel or concrete grinder may be needed for thicker deposits.
2. Mastic and softer adhesives
Some tile adhesives are softer, sometimes rubbery or tacky. Depending on their formulation, they may respond to a compatible commercial adhesive remover or a moisture-based method.
Always test a small area first. Don’t assume every soft-looking adhesive can safely be soaked or dissolved.
3. Epoxy and other stubborn adhesives
Epoxy-based adhesives can be particularly difficult to remove once cured. Depending on the product, specialist chemical removers or mechanical equipment may be necessary.
Check the remover’s compatibility with both the adhesive and the concrete.
4. Watch out for old black adhesive
If you discover old black adhesive beneath vinyl tiles or other older flooring, stop before scraping, sanding, drilling, or grinding it.
Some older flooring materials and adhesives contain asbestos. You cannot reliably identify asbestos by colour or appearance alone. Arrange appropriate testing and follow local professional guidance before disturbing the material.
A little caution here is much cheaper than creating a hazardous dust problem.
Tools and Materials You Need
Before starting, gather your equipment. Nothing ruins a DIY afternoon quite like discovering you need to visit the hardware shop every 20 minutes.
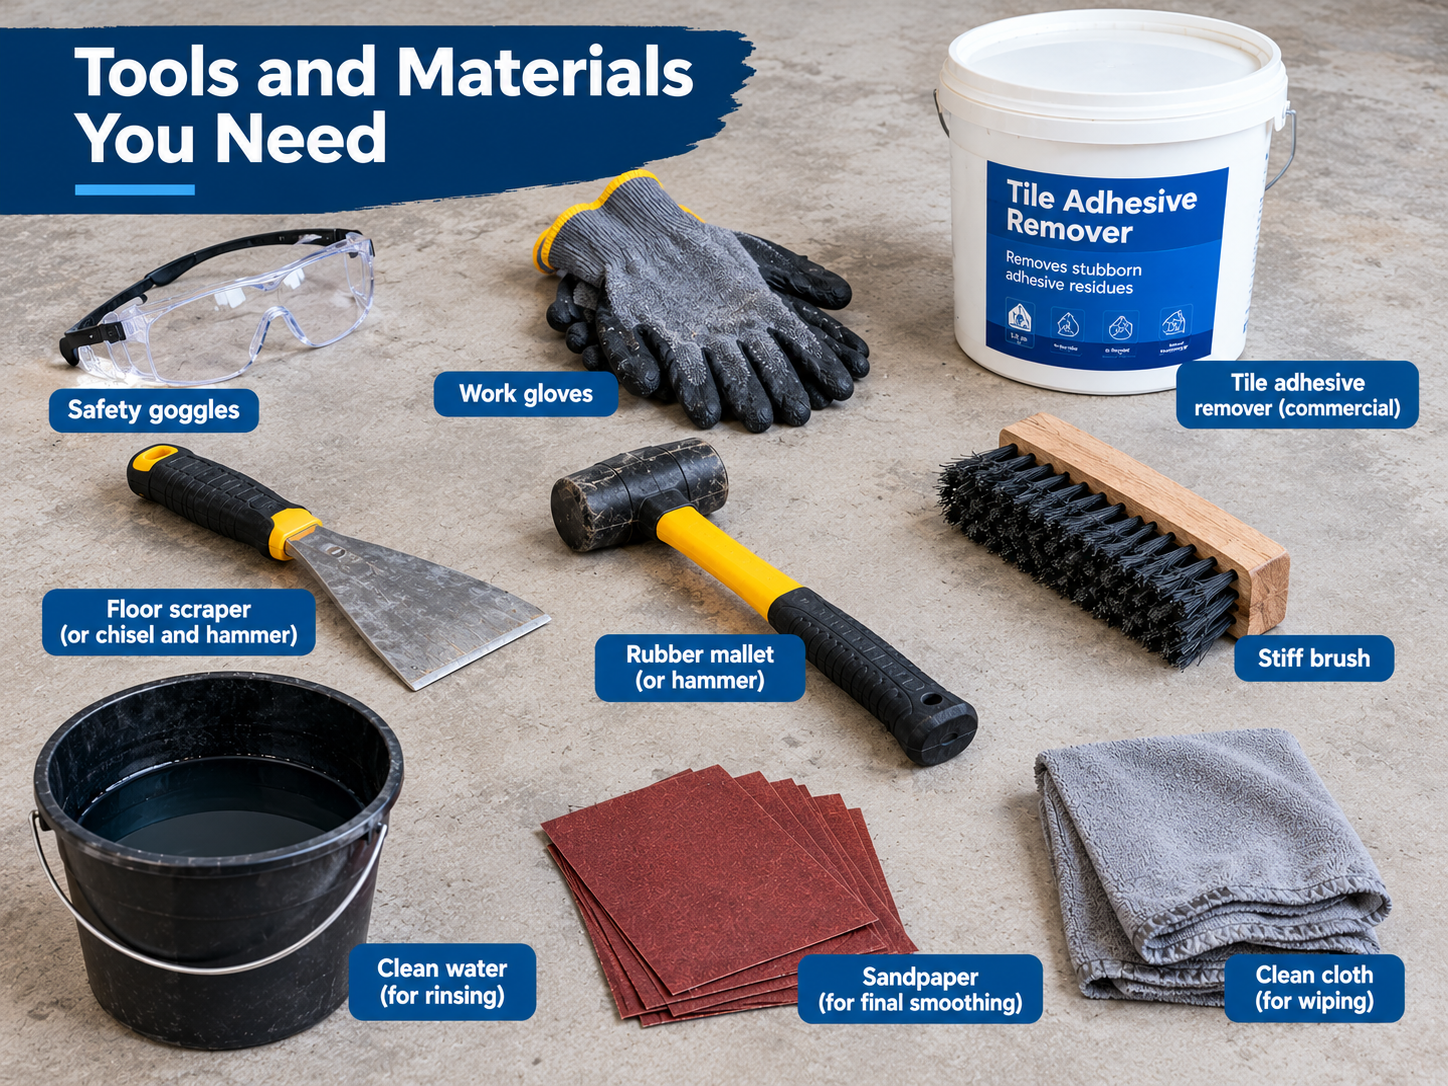
Here’s what you’ll need:
- Floor scraper: Ideal for loose adhesive, thin residue, and smaller jobs.
- Hammer and masonry chisel: Useful for carefully removing hardened mortar.
- Rotary hammer with a suitable chisel attachment: Helpful for tougher deposits over larger areas.
- Commercial tile adhesive remover: Useful for compatible adhesives that respond to chemical treatment.
- Suitable dust extraction equipment: Essential when mechanical work creates dust.
- Safety goggles, gloves, hearing protection, and suitable respiratory protection: Choose protection appropriate to the work and product instructions.
- Cleaning supplies: For collecting debris and removing compatible cleaning residues.
- Concrete repair material: Useful if you discover minor surface damage that needs attention.
You don’t need to buy everything. For a small patch of soft residue, a scraper and a suitable remover may be enough. For an entire room covered in hardened thinset, powered equipment may save considerable time.
How to Remove Old Tile Adhesives from Concrete: Step by Step
Now for the main event. Follow these steps in order, starting with the least aggressive suitable method.
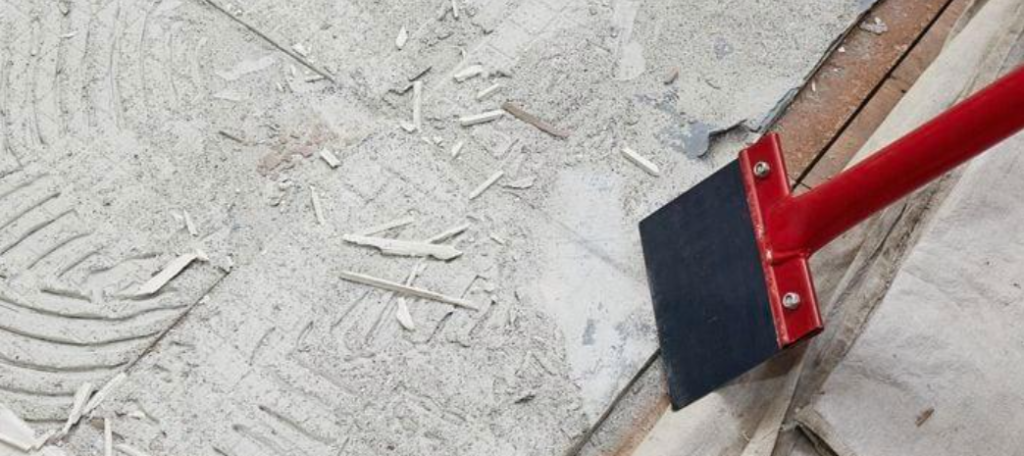
Step 1: Prepare the room and protect yourself
Remove loose tiles, furniture, and other obstacles. Keep children and pets away from the work area.
If you’re working indoors, consider how dust will spread into neighbouring rooms. Close off the work zone where practical, and use suitable dust extraction when scraping, chiselling, or grinding creates airborne particles.
Wear appropriate protective equipment, including eye and hearing protection when needed.
Remember the old black adhesive warning above. Do not begin disturbing potentially asbestos-containing material.
Step 2: Test a small section
Choose a small, inconspicuous patch of adhesive.
Try lifting a loose edge with a scraper. Observe whether the material flakes away, breaks into hard chunks, or remains flexible and sticky.
This quick test helps you choose your next move.
If the adhesive lifts easily, manual scraping may be sufficient. If it behaves like hardened cement, you’ll probably need a mechanical approach. If it’s soft but stubborn, investigate a compatible adhesive remover.
Don’t start by attacking the entire floor. Test first, then commit.
Step 3: Scrape away loose adhesive
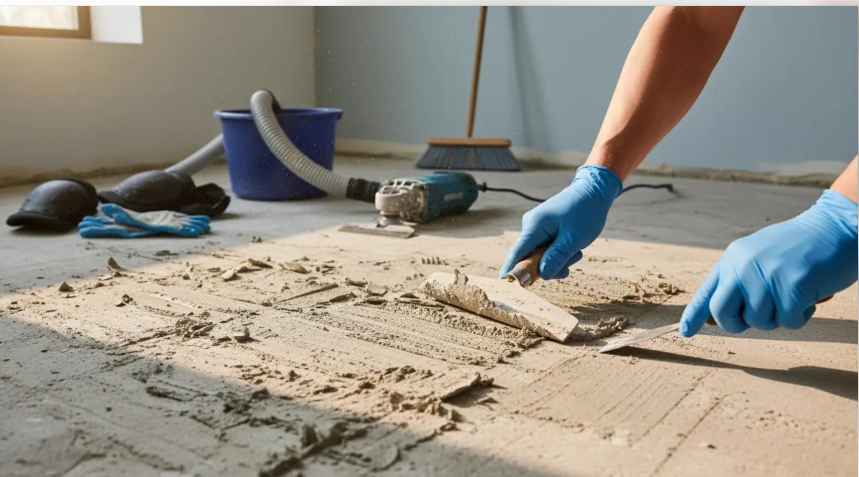
Hold the floor scraper at a controlled, shallow angle and push it beneath loose residue.
Use steady pressure rather than repeatedly stabbing the floor with the blade. Work in manageable sections and replace worn scraper blades when necessary.
Be patient around concrete edges, corners, and damaged areas. Aggressive scraping can gouge the slab, turning a straightforward cleanup into an unnecessary repair project.
If the residue refuses to move, don’t spend an hour fighting it with a tool that isn’t suited to the job.
Move to the next appropriate method.
Step 4: Tackle stubborn adhesive
For hardened thinset, a masonry chisel or suitable powered chisel may help break the bond between the residue and the concrete.
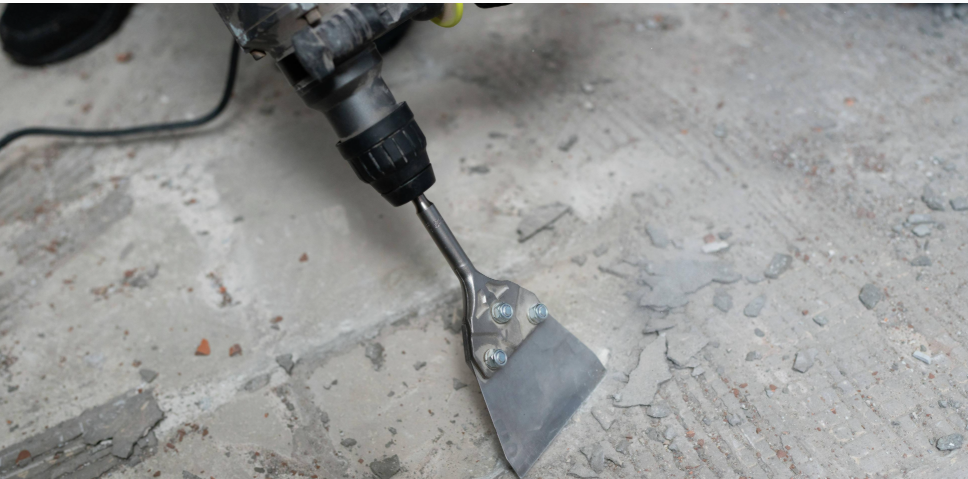
Work carefully and keep the tool under control. Start with a small area to understand how easily the mortar releases and whether the concrete surface is being damaged.
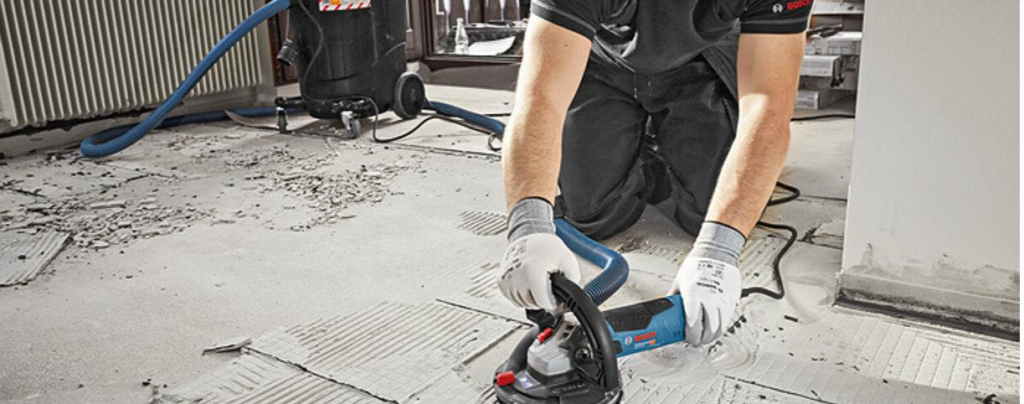
If a large area remains covered in thinset, a suitable concrete grinder with effective dust extraction may be more practical. Grinding can remove stubborn high spots, but it can also damage the slab or expose you to hazardous dust if performed incorrectly.
If you lack the appropriate equipment or experience, hiring a flooring professional may be the smarter choice.
Step 5: Use a tile adhesive remover when appropriate
A commercial tile adhesive remover can be useful when the residue is compatible with the product.
Read the label before applying anything. Check which adhesive types the product handles, whether it’s suitable for concrete, how long it should remain on the surface, and how the treated area must be cleaned afterward.
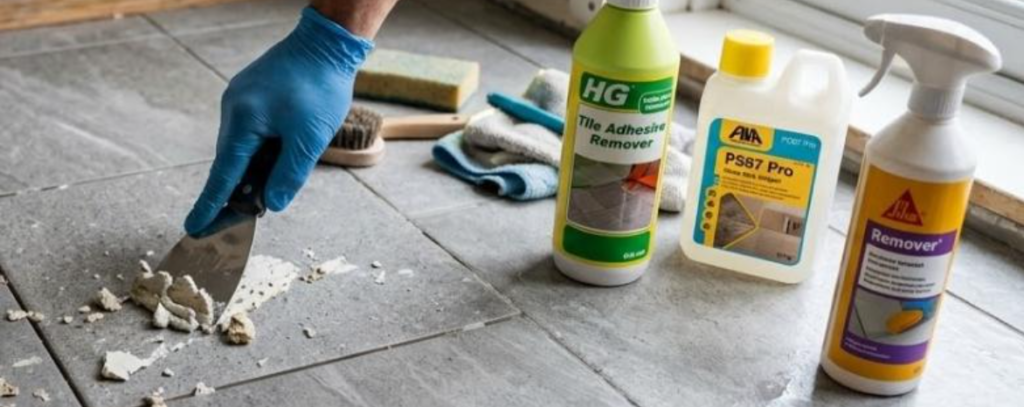
Apply the product to a small test patch as directed. Allow the specified dwell time, then remove the softened adhesive using the recommended method.
Some removers are designed for particular mastics or resilient flooring adhesives. They will not necessarily dissolve hardened cement-based thinset.
Avoid mixing chemicals or improvising with strong solvents. If the product leaves an oily or chemical residue, that residue may interfere with the next flooring installation.
A tile adhesive remover is a tool, not a magic potion. Choose one for the adhesive you actually have.
Step 6: Work in manageable sections
Divide the floor into small areas and finish one before moving to the next.
This makes it easier to monitor your progress, collect debris, and spot any damage before it spreads.
For stubborn patches, switch methods only after checking that the alternative is suitable. A combination of scraping and careful mechanical removal may work better than forcing one method to do everything.
Take short breaks. Your goal is a prepared floor, not a personal record for the number of hours spent wrestling with concrete.
Step 7: Clean up and inspect the floor
Collect loose adhesive fragments and dust using suitable equipment. Avoid dry sweeping or using compressed air when it would spread hazardous dust.
Follow any chemical remover’s instructions for washing, rinsing, or disposing of residue.
Once the surface is clean and sufficiently dry, inspect it under good lighting. Look for raised ridges, loose material, cracks, and areas where the concrete has been chipped.
You can now decide whether the floor needs further removal, minor repairs, or professional preparation before the next installation.
The Best Methods for Removing Different Types of Tile Adhesive
Not sure which technique to choose? Use this quick comparison to narrow your options.
| Removal method | Best suited for | Main consideration |
|---|---|---|
| Manual scraping | Loose residue and thin deposits | Slow on thick, hard mortar |
| Hammer and masonry chisel | Localised hardened thinset | Can chip or gouge concrete |
| Powered chiselling | Stubborn mortar over larger areas | Requires control and suitable protection |
| Commercial adhesive remover | Compatible soft or chemical-sensitive adhesives | Product compatibility and residue removal |
| Concrete grinding | Tough, widespread mortar residue | Requires proper equipment and dust extraction |
| Moisture-based softening | Certain water-sensitive adhesives | Not effective for every formulation |
Which method should you try first?
For a small area with loose residue, start with manual scraping.
For hard, cement-like mortar, test mechanical removal on a small patch. Use powered chiselling or grinding only when appropriate for the adhesive and the condition of the slab.
For softer, potentially water-sensitive adhesive, check whether the manufacturer recommends moisture or a compatible remover.
There is no single best tile glue remover for every floor. The right choice depends on the material, the size of the job, and what you intend to install next.
How to Remove Floor Tiles from Concrete Before Removing the Glue
Sometimes the tiles are still in place, so you have two jobs: remove the tiles and then remove the remaining adhesive.
The process depends on the tile material.
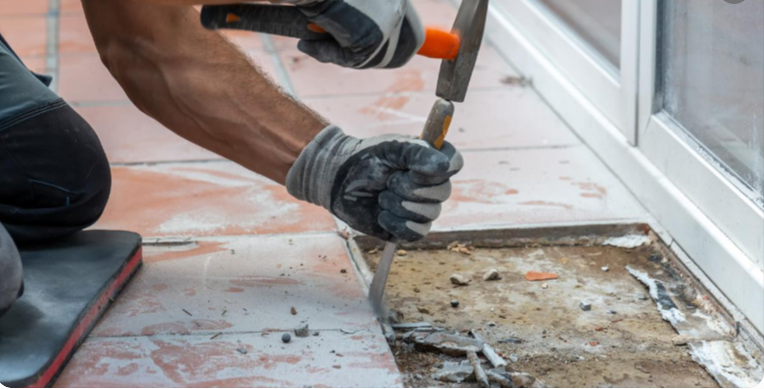
Removing ceramic or porcelain tiles
If the tiles are intact, begin by removing grout where necessary and identifying a suitable starting edge.
Use a hammer and masonry chisel to lift a tile carefully, directing the force beneath the tile rather than deep into the concrete. A suitable powered chisel can help with larger jobs.
Wear eye protection because ceramic and porcelain fragments can be sharp and may fly during removal.
After lifting the tiles, inspect the remaining adhesive. Loose mortar may come away with the tiles, while hardened ridges will need additional treatment.
Removing vinyl or peel-and-stick flooring
Flexible tiles and vinyl flooring can leave a layer of backing or sticky adhesive on the concrete.
The best approach depends on the flooring and adhesive formulation. A compatible remover may help with certain residues, but don’t assume that a product intended for one adhesive will work on another.
If the material is old and its composition is uncertain, investigate the possibility of asbestos before disturbing it.
The important distinction is simple: lifting the tiles does not automatically mean you’ve removed the tile glue. Inspect the slab before deciding the job is finished.
Common Mistakes to Avoid
A few avoidable mistakes can turn a manageable renovation into an expensive repair. Watch out for these.
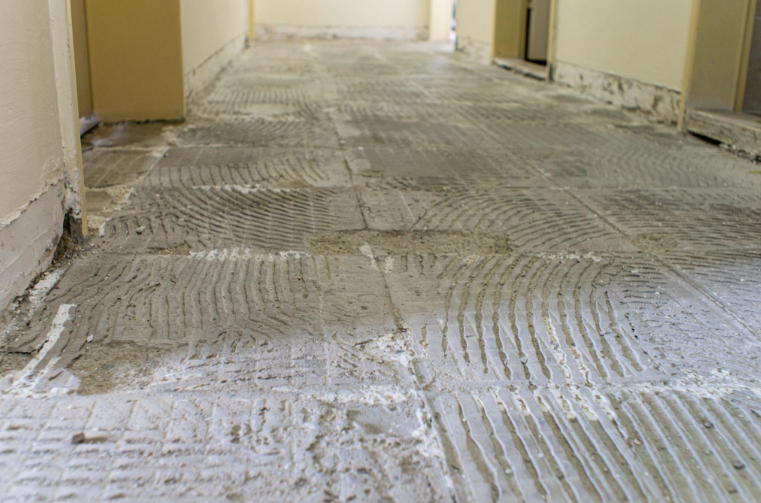
1. Using the wrong adhesive remover. A product that works on one type of glue may do little against another. Identify the material and check compatibility first.
2. Grinding without proper dust control. Concrete and mortar dust can be hazardous. Use suitable extraction and respiratory protection; do not treat an ordinary household vacuum as adequate for every grinding task.
3. Chipping too aggressively. If you damage the concrete, you may need to repair and level it before installing the new floor. Let the tool do the work rather than attacking the slab.
4. Applying water indiscriminately. Moisture may help certain adhesives but won’t reliably soften cured cement-based thinset. It can also complicate cleanup or affect moisture-sensitive materials.
5. Mixing chemicals. Never mix adhesive removers with other cleaners or solvents unless the product instructions explicitly permit it.
6. Covering residue without checking. Installing new flooring over incompatible adhesive can compromise the result. Check the substrate preparation requirements for the new flooring and bonding product.
7. Ignoring old, potentially hazardous flooring. Stop if asbestos may be present. Testing and appropriate professional handling come before removal.
How to Clean and Prepare Concrete After Adhesive Removal
You’ve removed the stubborn glue. Congratulations! But before opening that new box of tiles, give the concrete one final inspection.
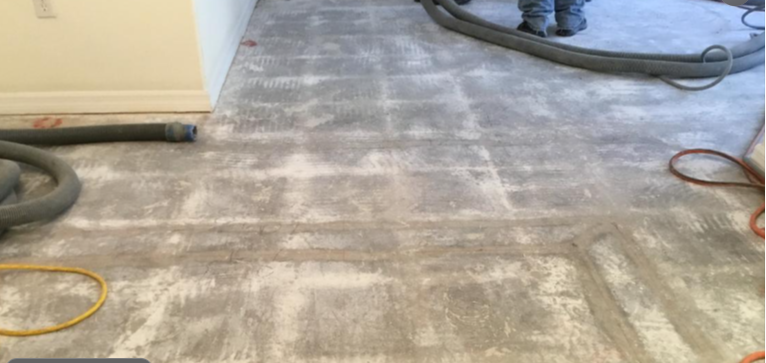
Follow these checks:
- Remove loose debris: Collect remaining fragments and dust using suitable equipment.
- Check for chemical residue: Follow the adhesive remover’s cleaning and rinsing instructions. Residue can interfere with bonding.
- Inspect the surface: Look for raised patches, loose concrete, cracks, and gouges.
- Repair defects: Use a compatible concrete repair or patching product where needed.
- Check flatness: Use an appropriate straightedge to identify high and low spots. The permitted variation depends on the flooring being installed.
- Check moisture: Allow the floor to dry as required and carry out any moisture testing specified for the new flooring system.
If you’re installing new ceramic or porcelain tiles, the surface must meet the tile adhesive manufacturer’s requirements. Other flooring types may have different requirements for smoothness, moisture, and acceptable residue.
Don’t confuse a floor that looks clean with one that’s ready for installation. Proper preparation is what helps the new flooring perform as intended.
Frequently Asked Questions
What is the easiest way to remove old tile adhesive from concrete?
Start by identifying the adhesive. A floor scraper may be enough for loose residue, while hardened thinset usually needs mechanical removal. Some softer adhesives respond to a compatible commercial remover. Testing a small patch first helps you avoid wasting time.
Will vinegar remove tile adhesive from concrete?
Vinegar is not a reliable solution for removing all types of tile adhesive, especially cured cement-based thinset. Rather than relying on household remedies, identify the adhesive and use a method suitable for that material.
Can I use a tile adhesive remover on concrete?
Yes, provided the product is designed for the adhesive you’re removing and is compatible with the concrete and your next flooring system. Follow the application, ventilation, protective equipment, and cleanup instructions on the label.
Do I have to remove every trace of old tile glue?
Not always. Some flooring systems permit certain firmly bonded residues under specific conditions, while others require a more thoroughly prepared surface. Follow the instructions for the new flooring and adhesive rather than assuming every dark mark must be ground away.
How do I remove hard, cement-like tile glue?
Try a suitable masonry chisel or powered chisel on a small test area. For extensive, stubborn residue, concrete grinding may be appropriate with effective dust extraction. Take care not to damage the slab.
Can I lay new tiles over old adhesive?
Sometimes, but only if the remaining material is sound, compatible with the new adhesive, and permitted by the installation instructions. Loose, contaminated, or excessively raised residue generally needs attention first.
Final Thoughts: Get the Glue Out Without Ruining the Floor
Removing old tile adhesive from concrete doesn’t have to become your next fitness programme.
Identify the adhesive, start with the least aggressive suitable method, and move to stronger techniques only when necessary. Use a tile adhesive remover when it’s compatible, mechanical tools when the residue demands them, and proper dust controls throughout the job.
Most importantly, don’t rush the final preparation. A clean, sound, appropriately flat concrete surface gives your new flooring a much better starting point.
Now grab your scraper, inspect that stubborn floor, and tackle one small section at a time. You’ll know you’re making progress when the concrete starts looking like a floor again rather than the archaeological remains of a tile factory.